
 Here's just a little side note... my good friend Y is making this super cool necklace for me! I found a great store in Florence, Kix, that sells absolutely everything you could ever need to make your own jewelry. Y and I laid out this design a few days ago and now she's hard at work making it happen. Soooo excited!
So now that the skirt is done and looking pretty good, it's time to start the corset. This is gonna be sooo cool! I first cut out and sewed up the inner liner which is actually two pieces sandwiched together. These two pieces will hold the steel boning - great stuff! This type of boning is flexible both front to back and side to side. Also, it won't melt if it's dry-cleaned.
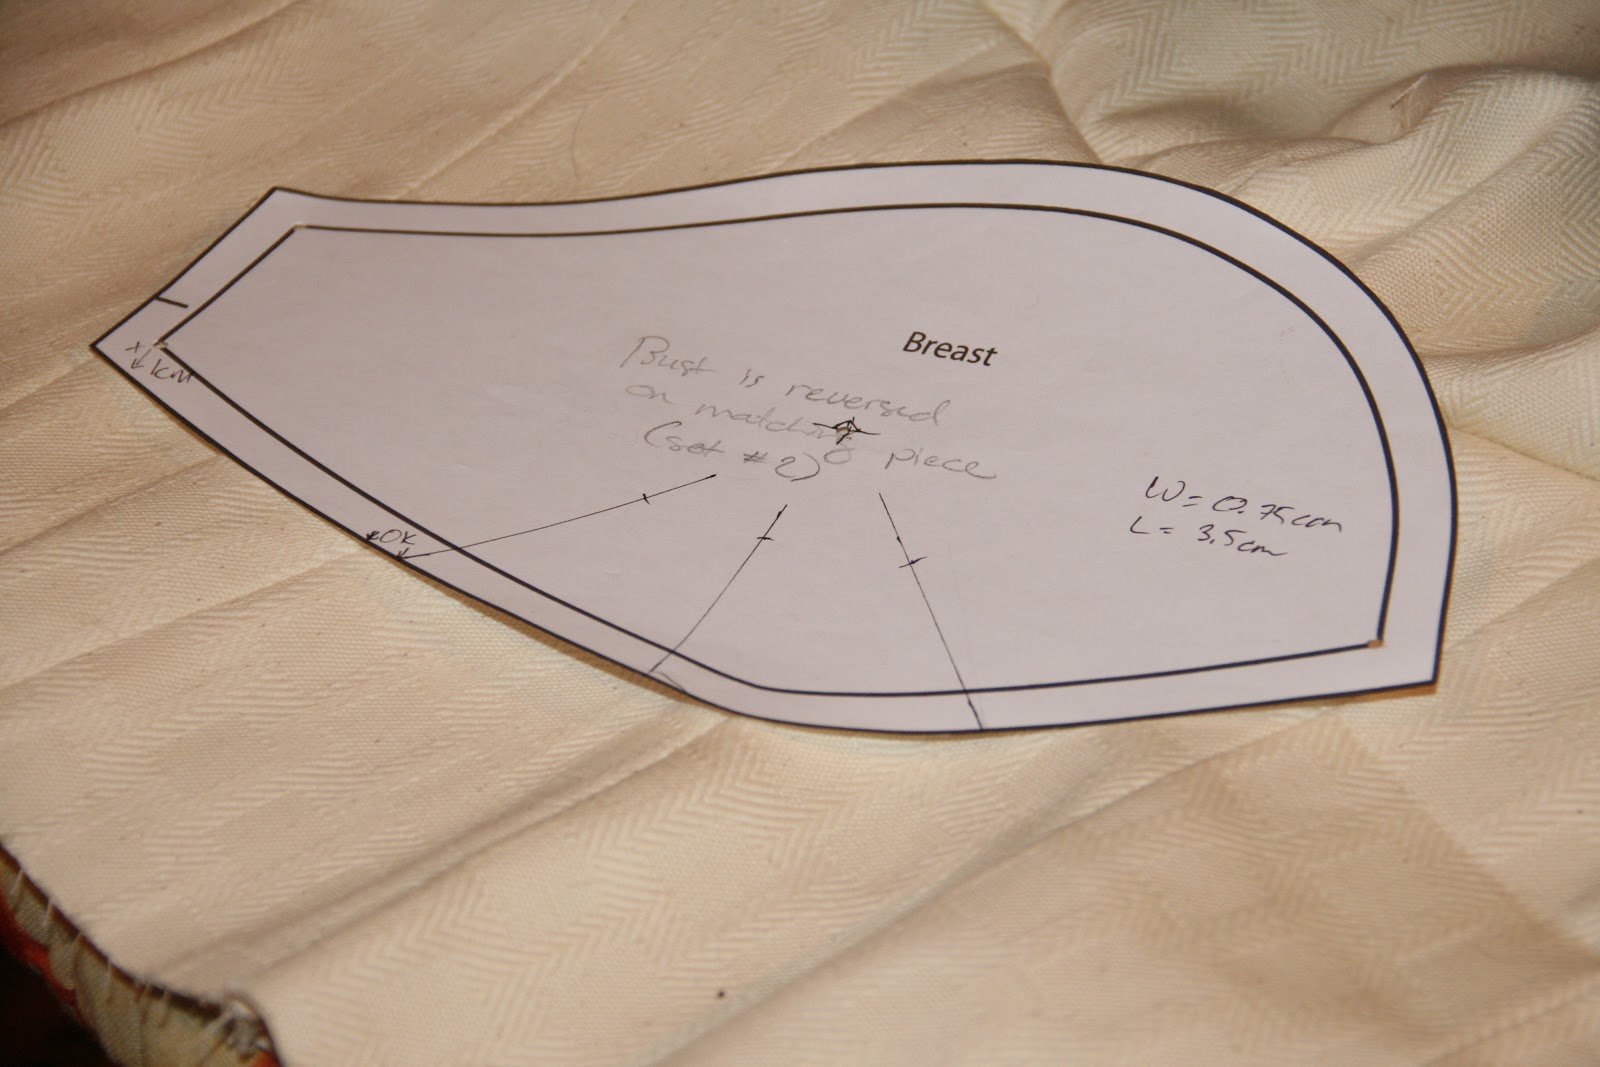
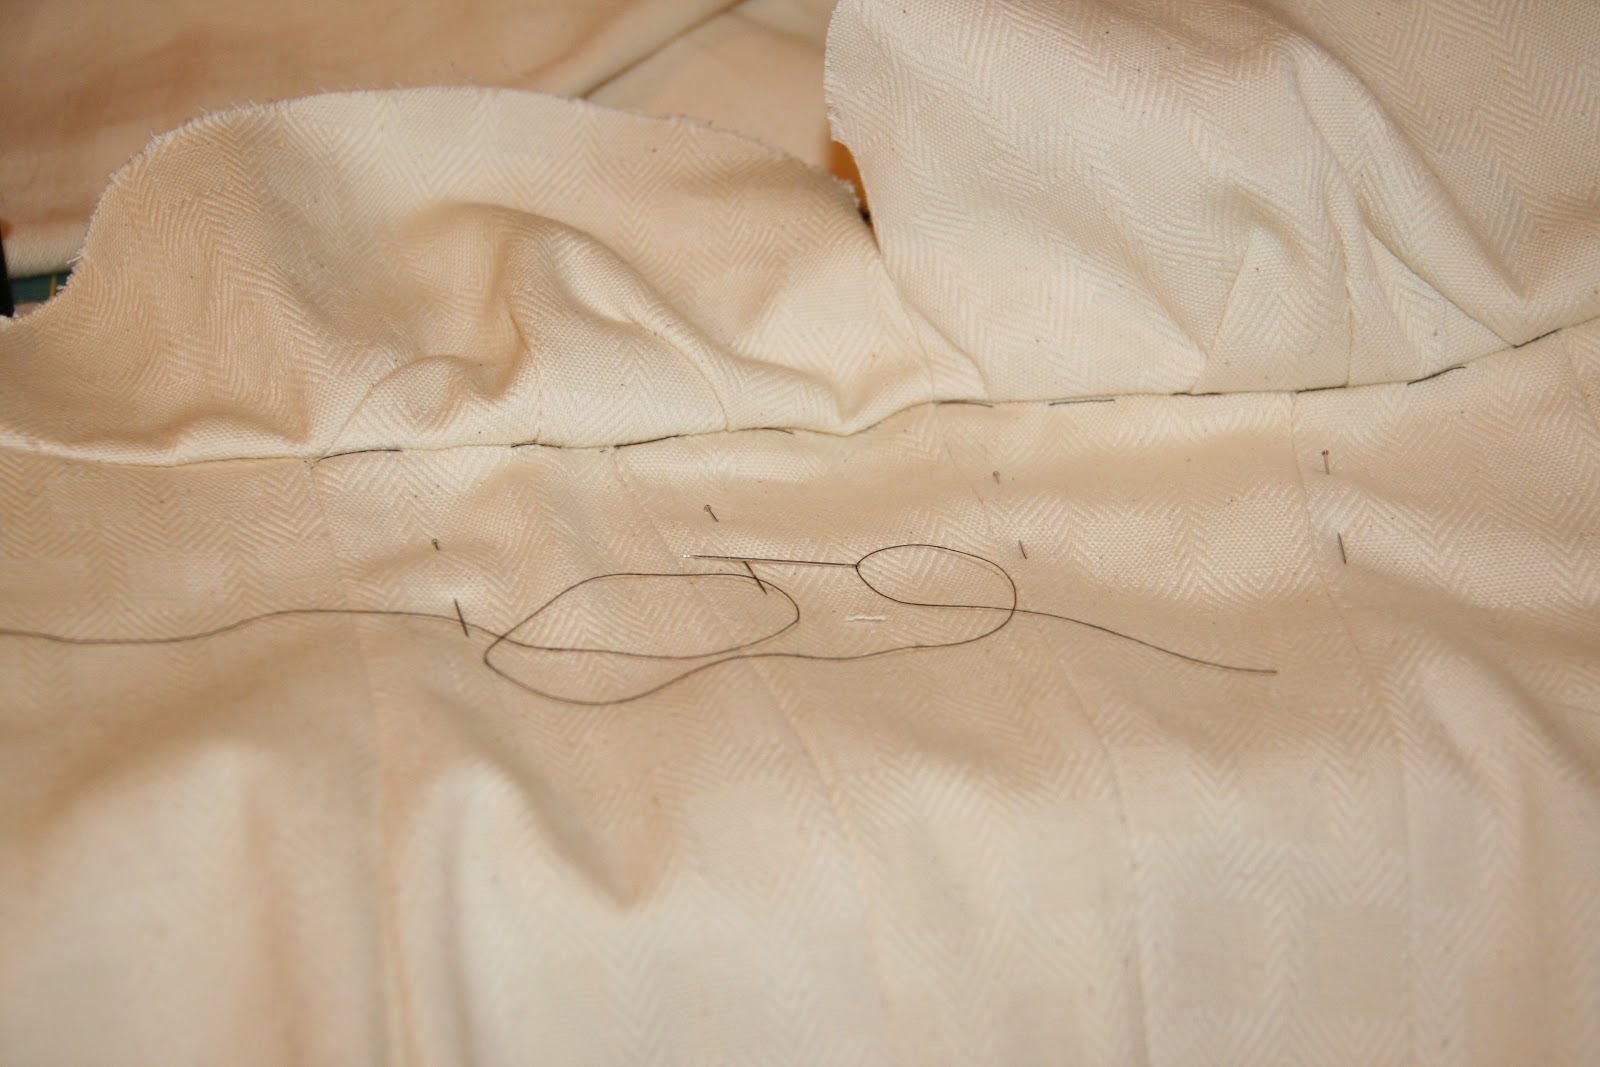
Next, getting the two pieces to line up. What a pain in the A-- job it was to be 100% sure that the pieces were exactly matched up for the boning tunnels to be sewn. This material is Really thick. It's used for upholstery so it will hold up to any pulling stresses that are placed on the corset - that is the point of a corset, right?

No comments:
Post a Comment